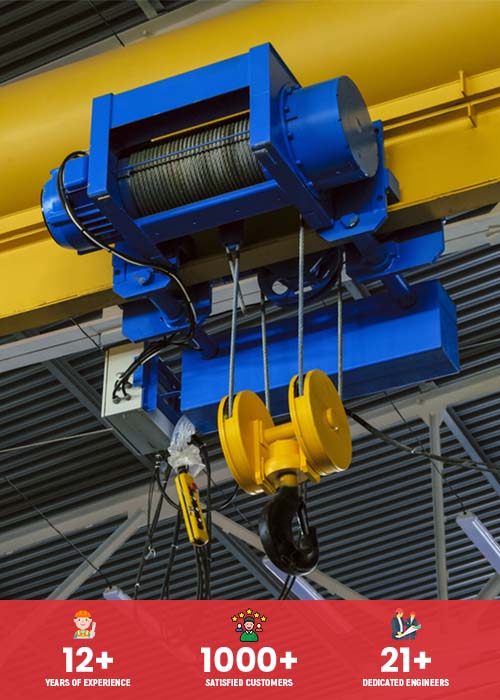
Making The Best Use Of An Electric Winch
Vehicles sometimes get stuck in deep mud holes and tight locations, which makes it hard for the driver to get it out. Electric winches are placed on these 4×4 vehicles or ATV’s to get them out. The electric winch manufacturers in India suggest that you can’t use any machine for any purpose. There are specific tools for each kind of job, and that’s why it is better to use a winch that perfectly suits the job.
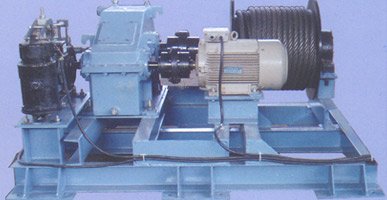
A simple rule that everyone must follow while choosing the right winch is that the winch should be able to pull 1.5 times the weight of the vehicle. For example, if the vehicle weighs 6000 pounds, installing a winch that is capable of pulling 9000 pounds works better.
Instructions
1. First of all, you must analyze the situation before speeding on to installing a winch. Try to find and try other available options because winch is not the easiest one. As soon as you plan to pull the vehicle with the help of a winch, connect and communicate with anyone you know.
2. Track the locations of chains and cables so that the vehicle could be pulled to a safe area without any damage.
3. Safety must be your priority. You should be wearing gloves all the time while handling the wires and cables. Any frays in the wire can mark cuts on exposed skin. You must avoid touching metal cables even when you are wearing gloves.
4. The debris in front of tires needs to be removed so that tires can move easily. Make use of hand shovel for this purpose to avoid any cuts.
5. Choose a direction that has ample space for the vehicle to be pulled and create a slope. Cut down and remove any tree limbs or rocks in the pathway so that the vehicle comes out comfortably.
6. Select a solid pulling structure to wrap the 12-foot pulling chain. If you are choosing a live tree, use a 5-foot square mat to protect the branches of trees. The rubber wrap needs to wrapped around the backside of the tree trunk. Loop the chain around the tree, keeping the rubber mat in between. Also, make sure that the loop is built around the lowest portion, where the strength is highest.
7. Make at least three rounds of cable on the drum and ensure that the chain is neatly fastened to the cable hook of the winch. If the cable falls short, use the 25-foot extension cable that comes along.
8. Make sure that there is no one in the direct path of pulling so that the winch could be nicely pulled in the straight line slope as created earlier. The vehicle must not be removed at an angle. Ensure smooth alignment of the cable onto the winch drum. Avoid bunching or riding of cable on itself.
9. If the cable creates an angle with the winch, don’t panic, follow this step. Attach the 5-ton snatch block and pull the vehicle in a straight line with the help of rubber mat and 12-foot chain. Find another support body like a tree and secure the snatch block there in the same way as mentioned above. Now, use the snatch block to place the winch cable, and you will see the cable is pulled directly into winch drum. Now provide straight run into the winch drum system to pull the vehicle freely.
Changing The Rope Of A Winch
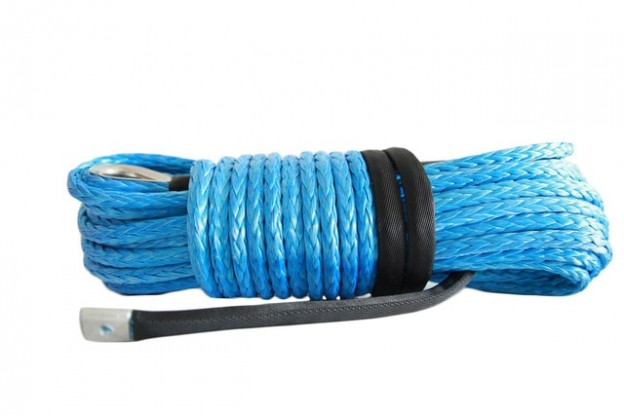
Changing the rope on your winch is not a big deal. It could be done for a number of reasons such as kinked rope, smaller size, or if you consider switching to synthetic rope.
The process is not so complicated and doesn’t take much time as well. Anyone can easily change it within an hour or two with the help of common hand tools only.
While changing the diameter of the rope, it is crucial to ensure that the rating on the top is good. You might break it when you need it most if it’s way too light.
Instructions
Get Rid Of Old Rope
1. Find a clutch in the winch and set it to freewheel. Now, carefully pull the whole old rope off the winch drum.
2. As soon as the end of the rope approaches, you will find that the end of the rope is fastened with a bolt. Loosen the bolt and take it out so that the rope could be freed through the fairlead of the winch.
Keep the bolt at a safe place, you will need it again to fasten another rope.
3. Clean rust, corrosion, and other damage coatings from the drum and clean it thoroughly. Remove any debris and even small nicks in the drum so that the new rope doesn’t get frayed with the pointed tips.

Spooling The New Rope
1. Open and straighten the rope as much as you can. If the cable is way too long, try running it along a sidewalk or edge of a road.
2. Find the fairlead hole and slide one end of the rope into it along with fastening it with the help of the retaining bolt. Make sure the rope runs inside so that it spools off the drum bottom while you pull it.
3. Take some thread locking compound and apply it to the bolt before sliding it through the loop.
4. Now, thread and fasten it inside the drum with the help of a ratchet, socket, or open end wrench.
5. Tightly wind the first layer of the rope onto the drum with hands. The first layer needs to be tight to avoid any tangles which can further lead to damage. So, make sure that you apply enough force and keep it close.
6. Wind the winch and the rest of the rope will spool on the drum itself. Watch closely and maintain slight pressure so that the layers are tight and there are no tangles. Ensure smooth and even spooling so that you get the best results while using the device.